So, in Part 2, we left off with the engine and transmission generally fitting where they should go and the upper engine oil pan modified, but it is still a ways from being “installed”. With the upper oil pan modified, the next step is motor mounts. There are a lot of options to do this, but in the end, the original Roadmaster LT1 motor mount was chosen due to it’s low profile and good damping characteristics (smooth). Nothing else that I found puts as much rubber isolation in as small of a space as these OEM mounts.
I don’t remember if the engine side or frame side was done first – I think it was the engine side so we’ll start with that :).
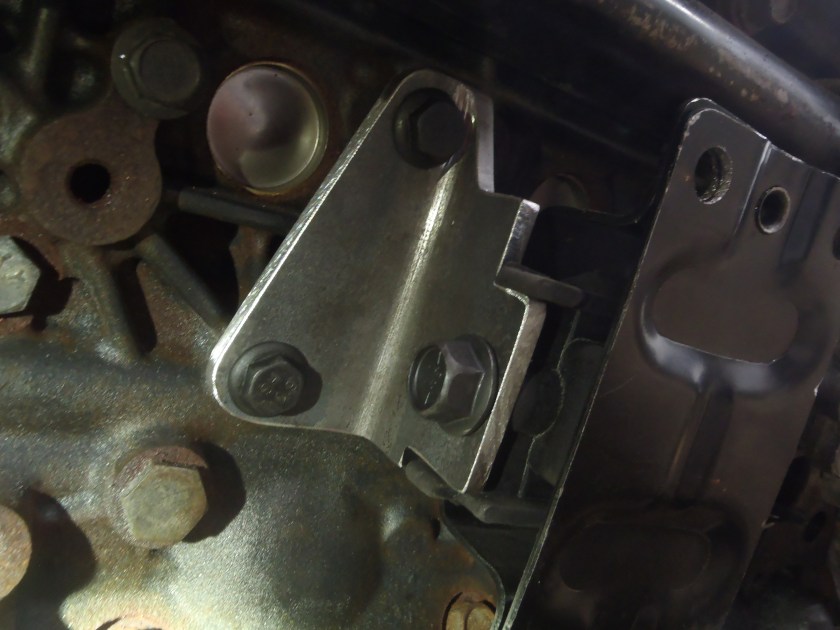
Some simple angle iron brackets were located on whatever holes were available in the block. Some shaping was performed to allow installation with normal tools, allow access to certain other items (block heater for example) and they just look better as well.
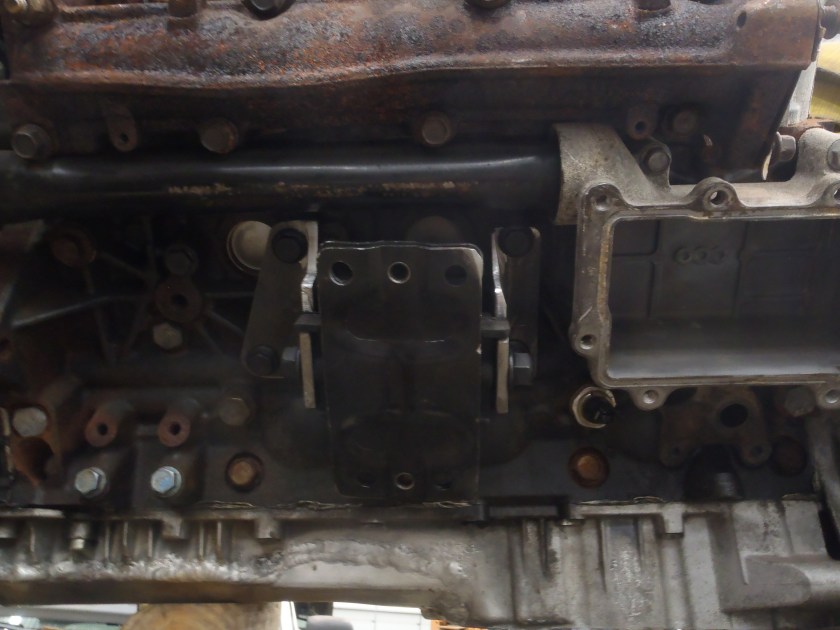
Each individual bracket was “notched” to fit the locating tabs on the mount which hold the engine in place while the bolt is installed. Ultimately this ended up not being necessary since it works best to remove the bolts between the mount and frame (less upward motion required to remove the engine), but is a nice touch for assembly.
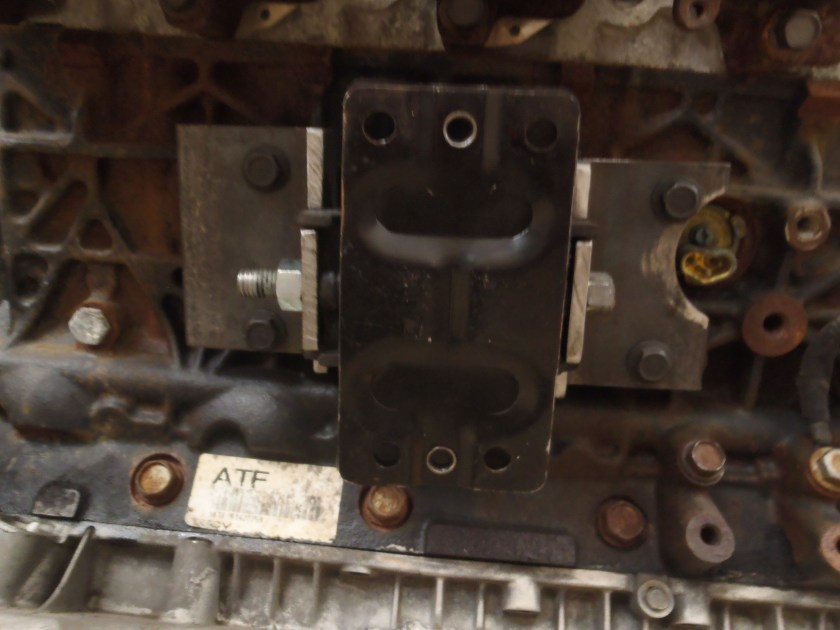
On the frame side, the LT1 used studs to locate the motor mount, but that wasn’t going to be a viable solution here. The engine/trans was set back in the car, adjusted forward/back and left/right to get it where it needed to be, then the holes were transferred from the motor mounts to the frame.
Holes were drilled, chamfered and stainless steel coupling nuts were inserted, TIG welded, then ground flush as shown below.
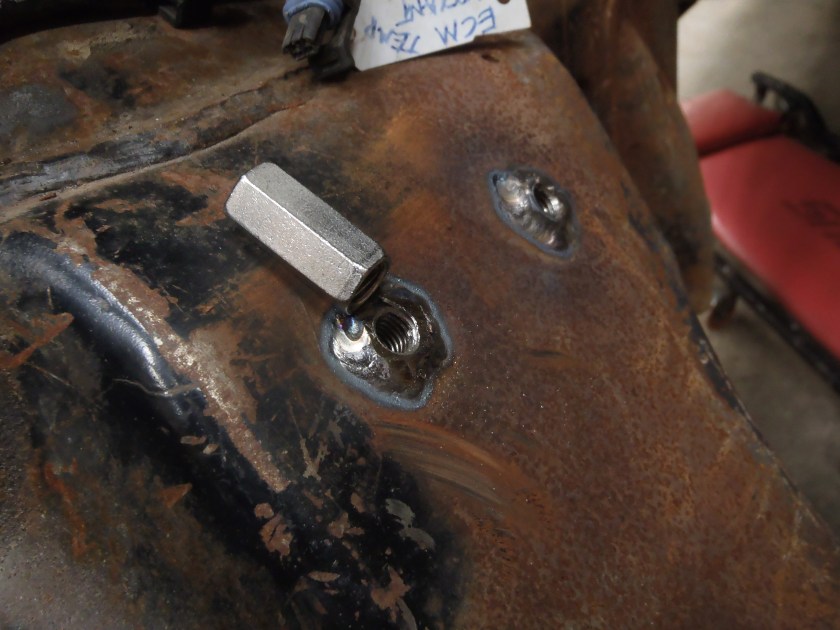
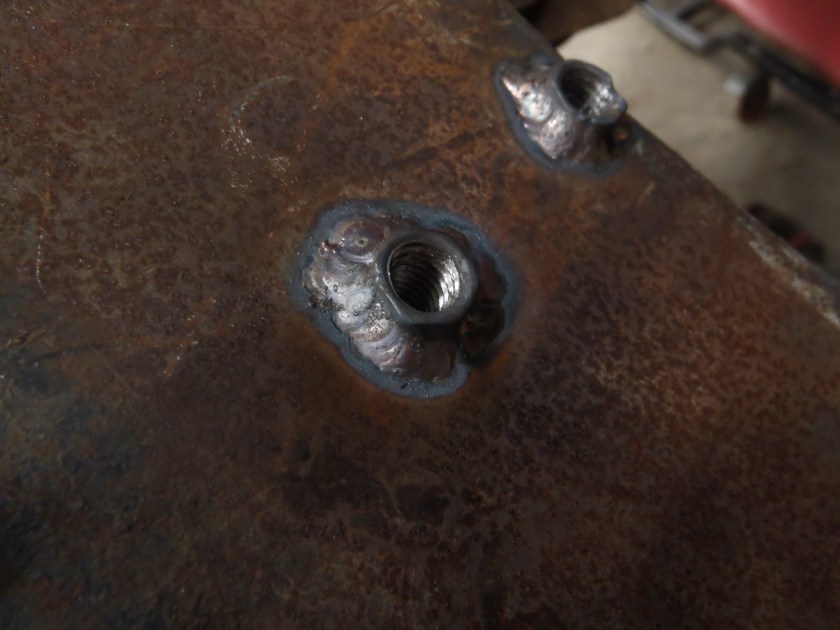
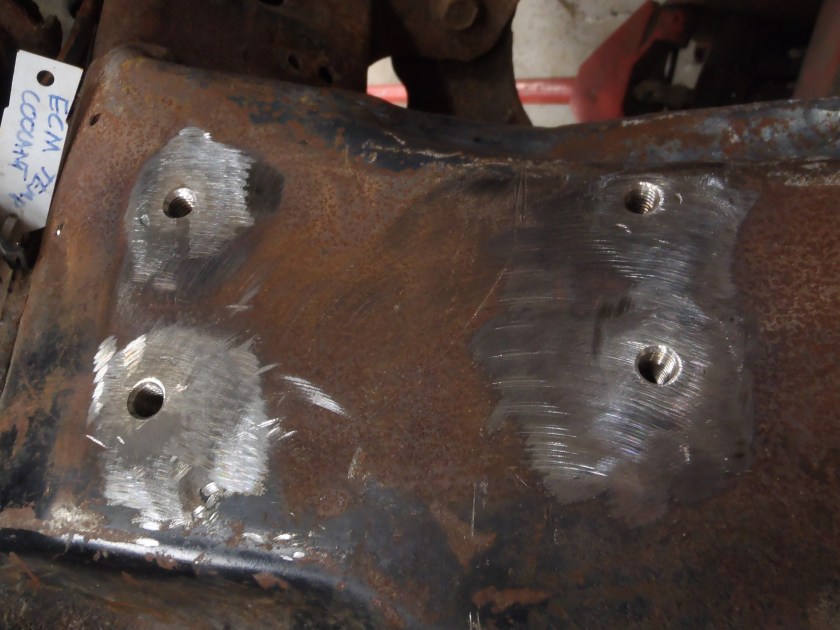
This allows the motor and mounts to just sit in the valley of the frame and the bolts just hold it in place.
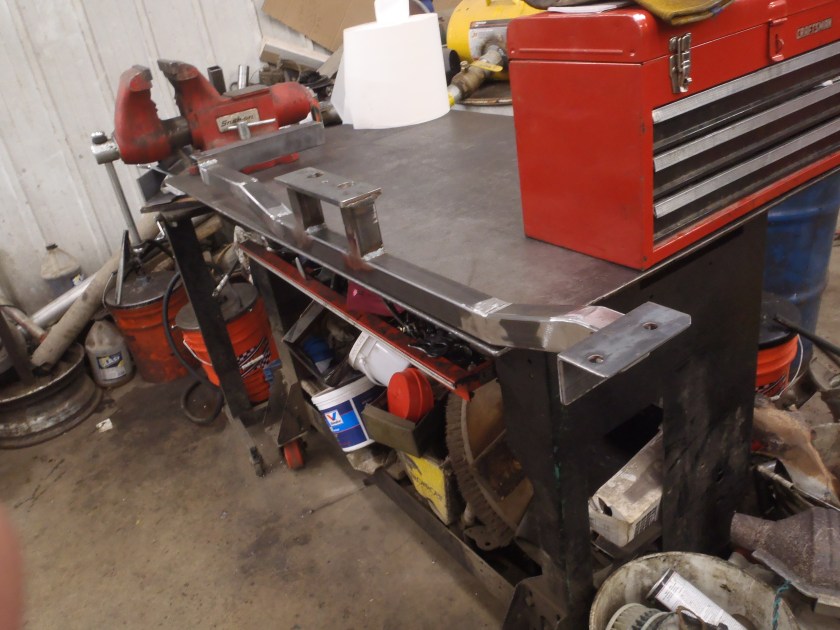
Now that the engine has a home – the transmission need the same. Some 2″ x 2″ x 1/8″ box tube, a bit of angle iron and some time with a sawzall and welder and we had something like this…
Which installs like this…
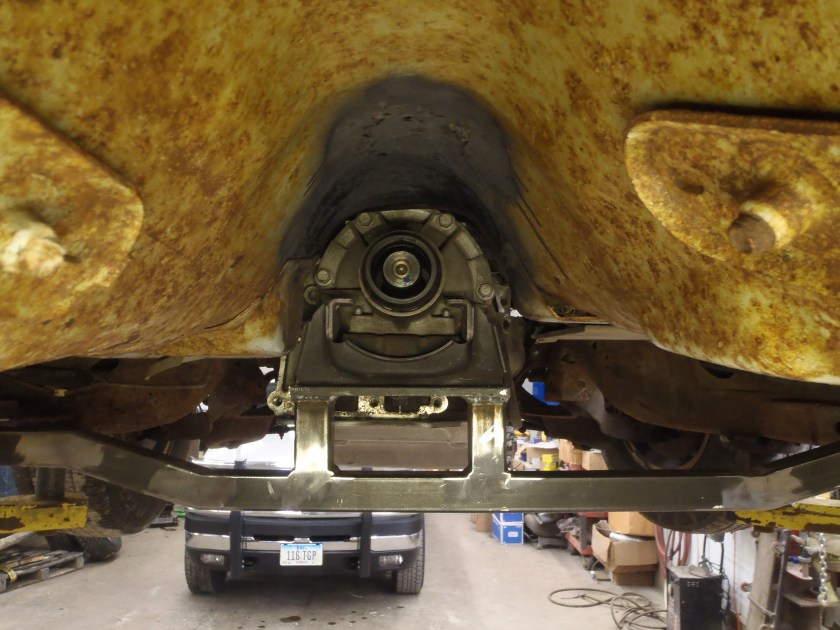
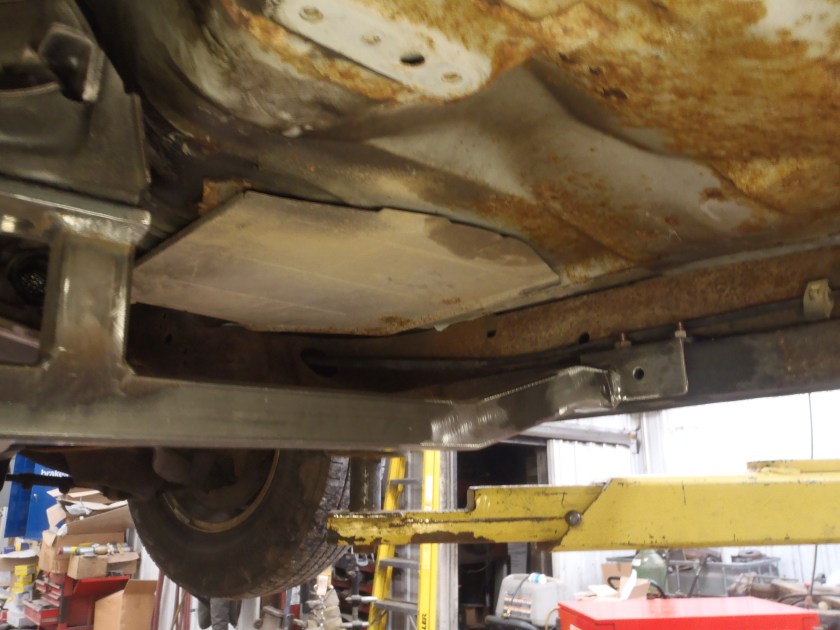

The crossmember leaves plenty of room on the right side for the exhaust to pass over it and steps up on the left side for mounting a fuel filter and cooler. The crossmember twists out by pushing the left side forward and the right side back until the angle iron flanges clear the frame and it can drop out.
The center of the crossmember was kept low for use as a mounting point for a belly pan/skid plate.
