When we left part 1 – the engine and transmission roughly fit where they’re supposed to go, however there’s a lot of details to work out yet since there’s no motor mounts, oil pans, hood, etc. Knowing that the engine has to sit as low as possible to clear the hood, the front cross member was thinned as much as possible from the top without making the bottom much lower so as to retain some ground clearance. The crossmember was reinforced with a piece of 1/2″ x 8″ x ~24″ steel plate.
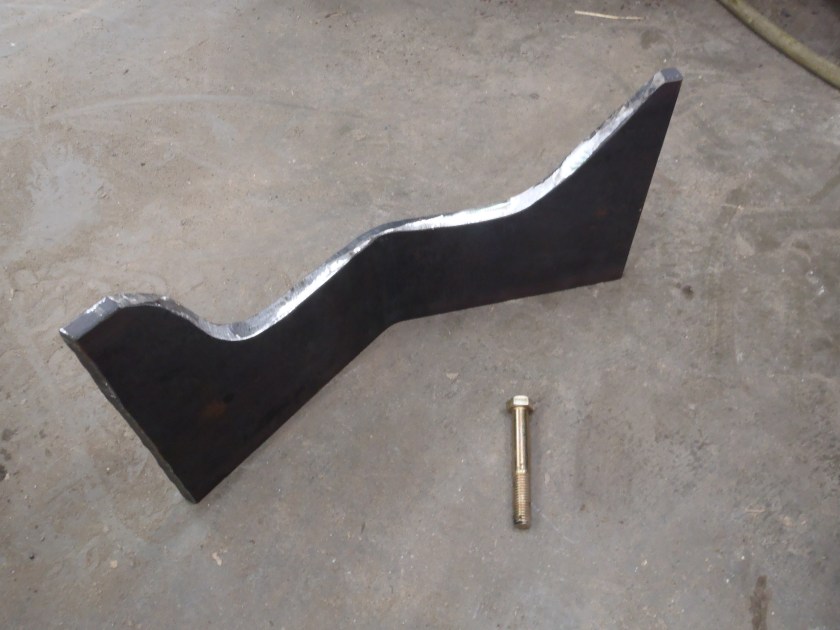
In this picture you can see the asymmetry in the original crossmember – the reinforcing plate is centered between the two control arm pivots, however the crossmember is not symmetric (even before all the modifications)
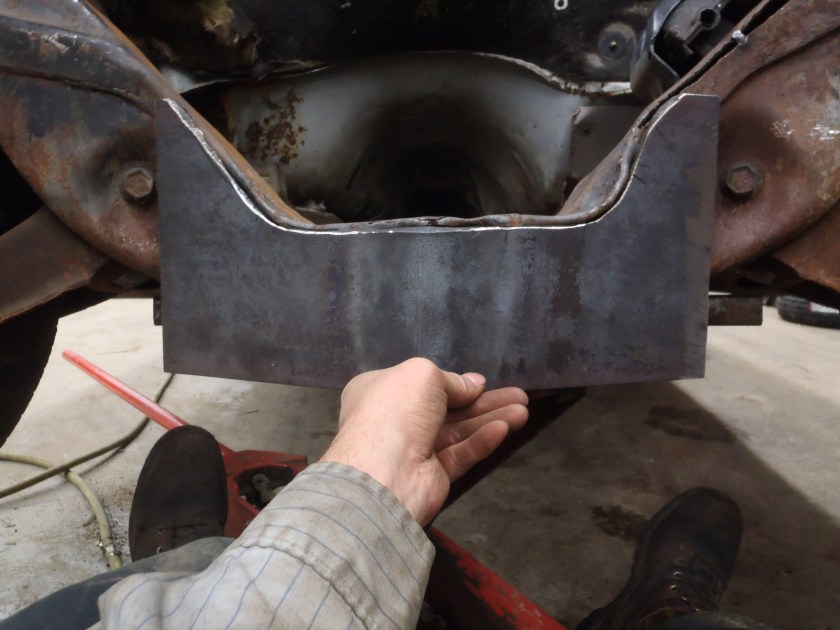
This was further reinforced with a web on the bottom – This will make for a good place to mount a belly pan/skid plate in the future while providing substantial strength to the crossmember.
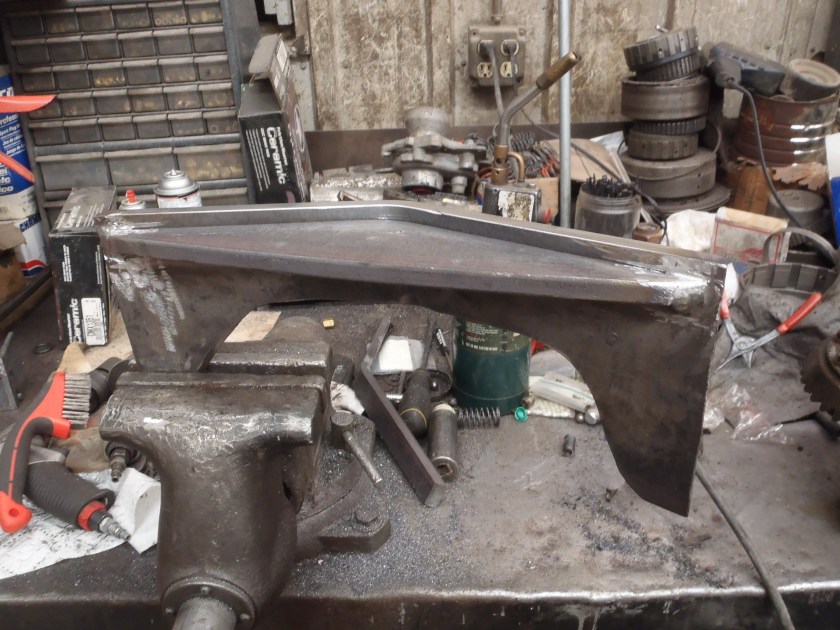
This whole reinforcement was then welded around almost the entire perimeter to the front crossmember – Multiple passes, lots of wire.
Now that the front of the car is solid – we can focus on getting all the necessary parts to fit. The engine oil pans were next.
The upper oil pan was the first place to start. Since the engine was able to be put so low due to the crossmember modifications, that didn’t leave much room for an oil pan. There is a nice windage tray below the crank, but no room for that. The LMM engine uses a rectangular oil pickup tube so the original LGH tube was “smushed” to match which gained another 1/4″. The oil pump relief valve was even modified to gain an extra ~3/8″ room!


After all this – lines were drawn and cuts were made on the upper oil pan to provide the necessary room.


Once the upper pan was cut, a new floor needed to go in. Some 1/8″ Aluminum sheet was laid out, cut, bent and then trimmed to fit.


The upper oil pan on a Duramax is some form of an aluminum like alloy – I say that because it’s the most difficult thing I’ve ever had to weld. Every seam takes 6-8 passes to get the material clean and able to mix with the aluminum cover. Weld, no filler, clean, repeat 2-3 times until you can start to get a clean puddle. Then start to add small amounts of filler to the crappy material to dilute it with something clean – repeat another 2-3 times, cleaning between each pass before you can start to think about melting two pieces together.

As you can see, it’s just crap. I’m not a professional welder by any means, but these are not my first beads in cast aluminum either. I’ve never welded anything this bad before or since!
With enough time and cleaning it does clean up a bit and surprisingly those porous areas don’t leak (it has sat for weeks full of oil). There is at least 100 hours in this thing! This was supposed to be the easy one, the lower one was supposed to be difficult. More on that in a future installment.


Below are some side by side pictures of an un-modified oil pan for comparison. It does not look like much of a change, but it was necessary to get the hood to close.


